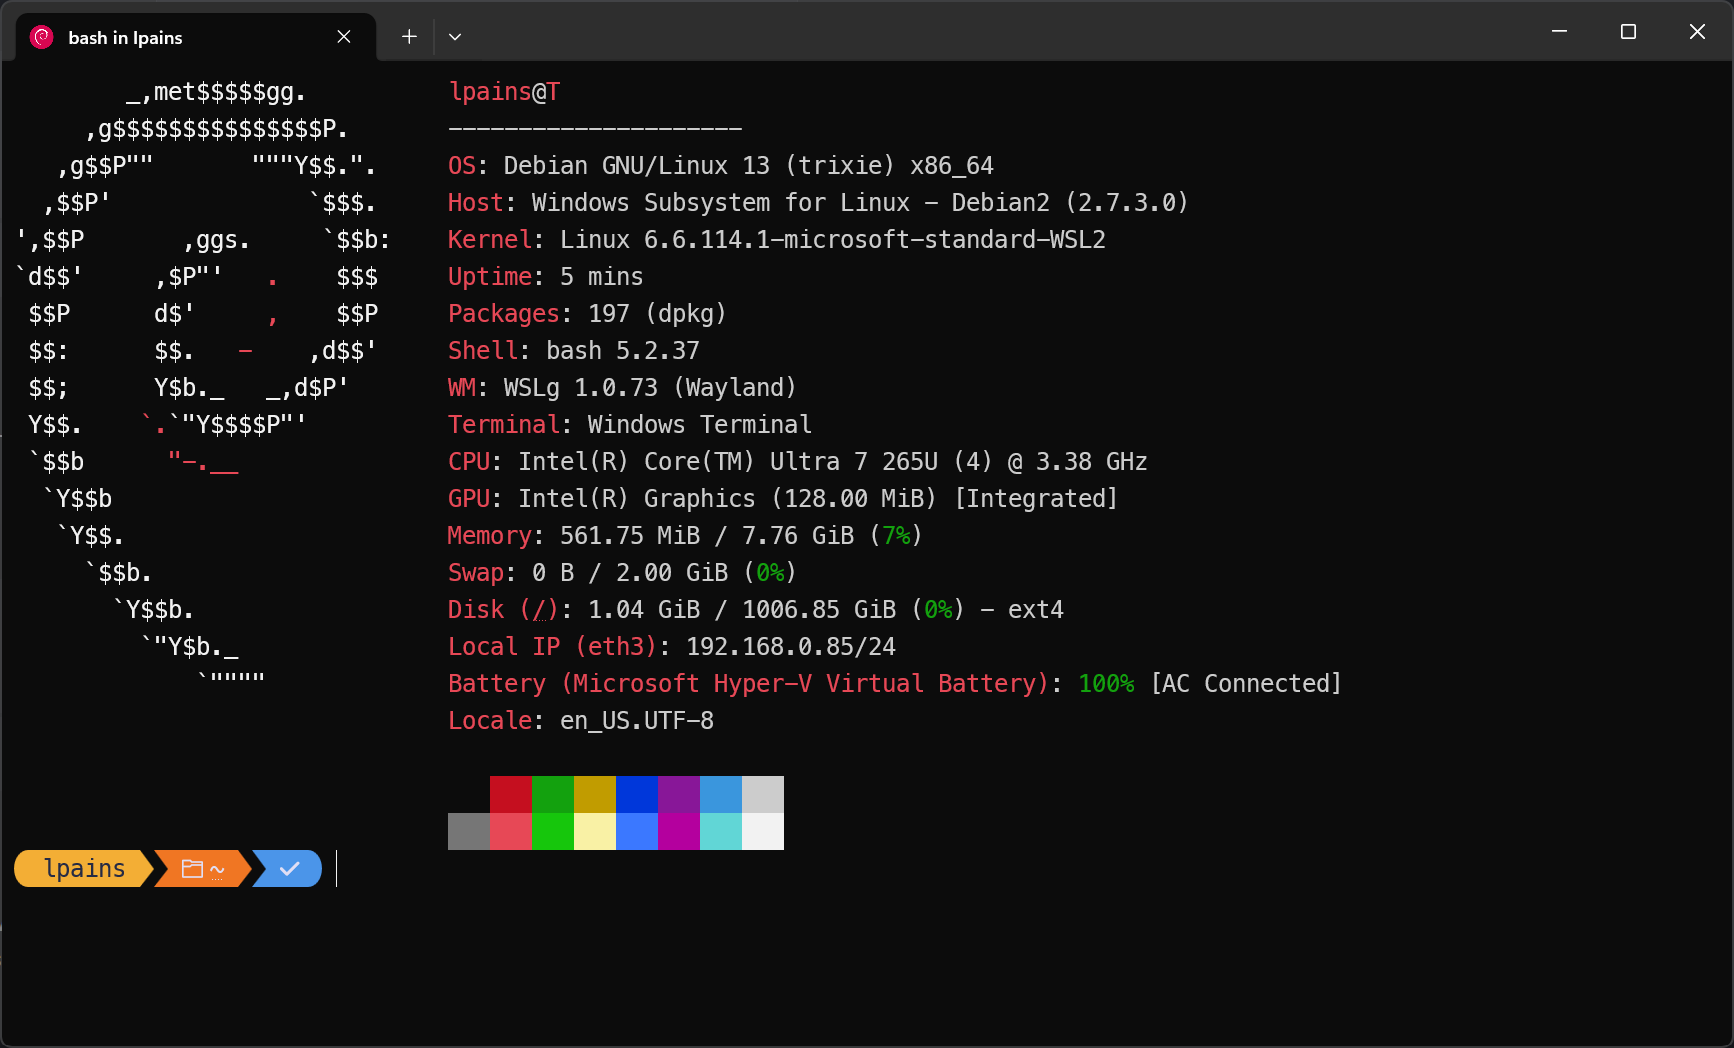
In the past, I posted about different ways to create development environments. These were the posts:
- Automated and repeatable Developer Environment setup
- Getting started with Ephemeral environments
- Automated and repeatable Developer Environment setup - winget
- Ephemeral environments with GitHub Codespaces
Historically, I have worked heavily on solutions deployed to Linux, either via Cloud PaaS services like Azure Container Apps or AKS. However, my professional workstation has always been Windows. My tooling varies, but I mostly use VS Code and whatever terminal is available. Any AI tooling I use is also typically terminal-based. In this post, I will detail a hybrid approach where the code and tools live in Linux, but the IDE is hosted in Windows. The reasoning for this setup is that my workstation is Windows and powerful enough that leveraging ephemeral cloud environments is not quite necessary.
NOTE: I’ve tested these instructions using Windows 11 for the host and Ubuntu or Debian Linux distros. You may need to adjust them accordingly for other distros.
TL;DR
Use WSL2 in Windows 11, create a WSL VM, disable WSL automount and interop so it is reasonably isolated from the host, and finally connect to it via WSL on the terminal and SSH on VS Code.
Installing WSL on Host
Follow official documentation. But in short:
| |
After download and install, provide a username and password and you have a basic VM ready to go.
This process will create a .vhdx and .ico in c:\Users\username\AppData\Local\wsl\{guid}. It will also register the distro with WSL to create an actual VM and show it in Windows as an App. Finally, it initializes an account, configures networking with the host, and maps your local drives under /mnt.
For an isolated environment, I heavily recommend you prevent the local drive mapping and disable interop with Windows. For instance, if you want to run Claude Code or GitHub Copilot in your new VM with fewer restrictions, allowing it to potentially see your host drives is a bad idea.
Isolate the VM from Host
In general, I want my VMs to be reasonably isolated from my host. The top 2 changes I do are to prevent WSL from auto-mounting the host drives and stop adding Windows PATH to Linux PATH. To make these changes, modify wsl.conf on your VM using sudo nano /etc/wsl.conf to add:
| |
Shutdown the WSL instance with wsl --terminate <distroName>. When you open the distro again, it will have the new configuration.
NOTE: if you do a
ls /mnt/cthe mount will still be there butlswill return nothing.
NOTE 2: you can still access the VM’s file system from the Windows host.
Setup SSH
Given we disabled interop and path sharing, SSH is the best way to connect to the VM from VS Code. On the VM, I typically use openssh-server to handle SSH connections. Because you are sharing networking with the host and port 22 is likely already being used by Windows, you should use another port. I like using 2222 and above for each VM.
Install openssh-server in the VM:
| |
Configure the port to something other than the default 22:
| |
Restart openssh-server:
| |
Now that SSH is set up, access it from your host to setup trust. This will create the .ssh\config file which will be used by VS Code later. To connect to the VM from your host, use:
| |
Use VSCode with SSH
Because we have disabled Windows interop, typing code . on your WSL terminal will not work. To connect to your VM using VS Code, first install the extension on your host:
| |
NOTE: If you have multiple VMs set up, change the hostname in the
.ssh\config
Install oh-my-posh [Optional]
To install oh-my-posh on your VM, follow these steps.
If running a distro that doesn’t have curl by default (e.g., Debian), install it:
| |
Install unzip:
| |
Install oh-my-posh:
| |
If needed, add oh-my-posh to your $PATH. Then, add oh-my-posh init to ~/.profile or ~/.bashrc:
| |
Create Multiple VMs [Optional]
I typically keep a template VM for when I change projects but they still have similar tooling requirements. In that case, I want to prepare a VM, keep it as a template and just duplicate it for each project. Using wsl --install [Distro] only works when installing a different distro. To duplicate an existing distro, you need to export and import the WSL VM:
| |
WSL defaults to using root for imported VMs. Once the import is complete, modify the default user:
| |
Adjust Memory Available to WSL [Optional]
WSL will hold on to memory it allocates. By default, up to 50% of the host RAM can be allocated to the WSL VM. You can either limit it or set the experimental feature autoMemoryReclaim to reduce memory issues. To do it, create a .wslconfig in your user directory (typically c:\users\yourname\) with the following content:
| |
For a list of all options, see the docs at Microsoft Learn
SSH without a password
Update: this section was added on 7/2/2026
After you have SSH setup, you will need to provide a user password on every connection. To prevent that, you can register a SSH key in both WSL distro and windows host.
- In the WSL distro, change the
sshd_config values forPubkeyAuthenticationandPasswordAuthentication`:
| |
Set:
| |
- Next, create a ssh key in your client machine, the one connecting to WSL, and copy it to the WSL Distro:
| |
- Make sure the directory and files with the keys have appropriate permissions and restart the ssh service:
| |
- Finally, ensure OpenSSH Agent is started on your host and add the SSH Key to it:
| |
This setup allows the trusted key to be used instead of a password.
Cheers,
Lucas